Android's List View allows us to iterate over an enumerable collection and display each piece of data in a list item. The list view works in conjunction with an adapter to loop over the data and display the data in a layout. We could, and often do, create our own layouts for this purpose. Customizing the layout allows us to match the list view's look and feel to the rest of our app, and to tailor the fields and controls that are shown.
For the times where we just want to display some simple data on the screen though, Android does include some built-in list item layouts. I was having a hard time finding any good documentation of these built-in layouts, so I have created a sample app displaying as many of the layouts as I could figure out. The app is written using Xamarin.Android.
Note : Xamarin has excellent documentation for this as well.
Sample code is available at my Github repo
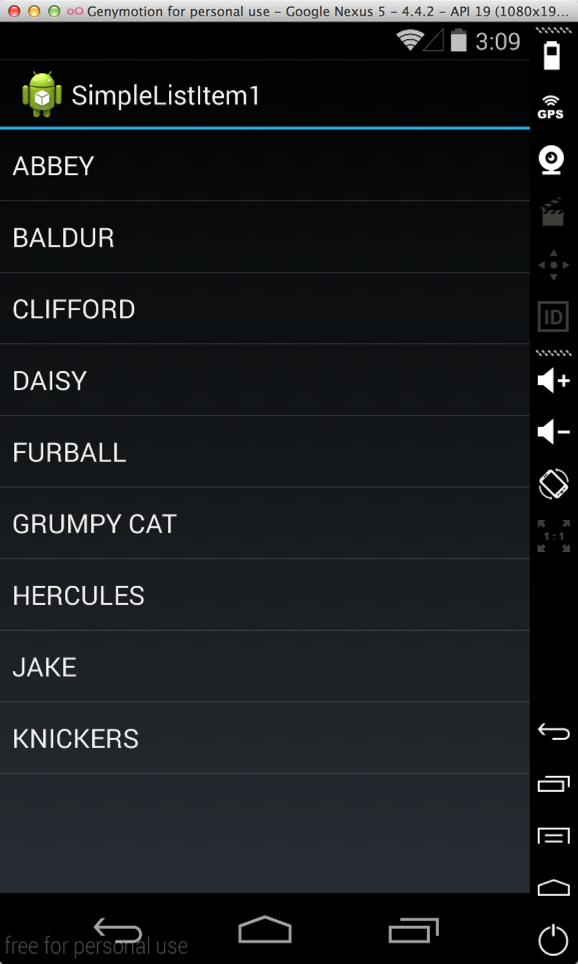
ArrayAdapter with SimpleListItem1
The simplest adapter to use is the built-in ArrayAdapter, using the built-in Android.Resource.Layout.SimpleListItem1 layout. This layout contains a single TextView, allowing display of a single piece of text.
using System;
using Android.App;
using Android.OS;
using Android.Widget;

namespace ListViewDemo
{
    [Activity (Label = "ExampleActivity")]
    public class ExampleActivity : ListActivity
    {
        protected override void OnCreate (Bundle savedInstanceState)
        {
            base.OnCreate (savedInstanceState);

            var kittens = new [] { "Fluffy", "Muffy", "Tuffy" };

            var adapter = new ArrayAdapter (
                                this, //Context, typically the Activity
                                Android.Resource.Layout.SimpleListItem1, //The layout. How the data will be presented
                                kittens //The enumerable data
                            );

            this.ListAdapter = adapter;
        }
    }
}
The other layouts include (with the controls available)
Android.Resource.Layout.ActivityListItem
- 1 ImageView (Android.Resource.Id.Icon)
- 1 TextView (Android.Resource.Id.Text1)

Android.Resource.Layout.SimpleListItem1
- 1 TextView (Android.Resource.Id.Text1)
Android.Resource.Layout.SimpleListItem2
- 1 TextView/Title (Android.Resource.Id.Text1)
- 1 TextView/Subtitle (Android.Resource.Id.Text2)

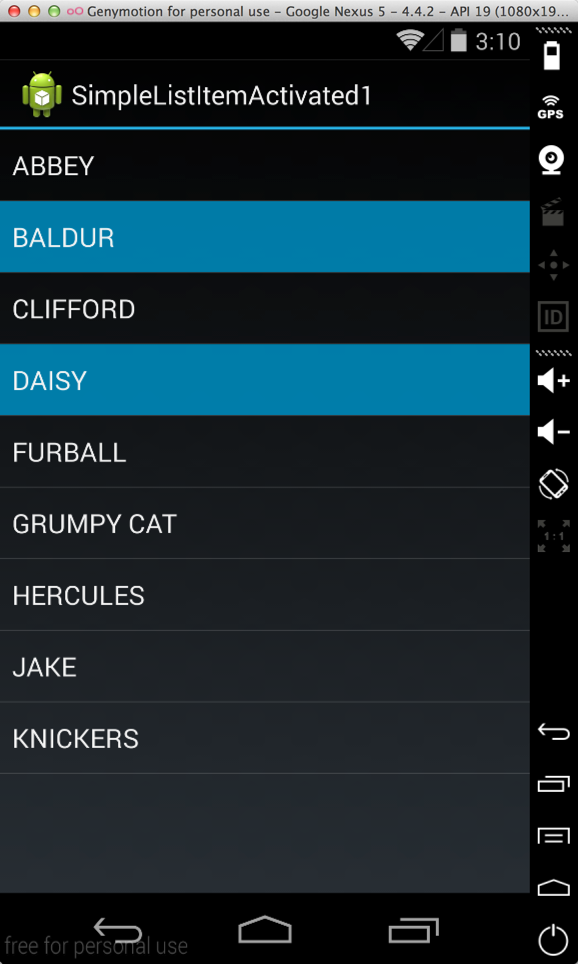
Android.Resource.Layout.SimpleListItemActivated1
- 1 TextView (Android.Resource.Id.Text1)
- Note : Set choice mode to multiple or single
this.ListView.ChoiceMode = ChoiceMode.Multiple;
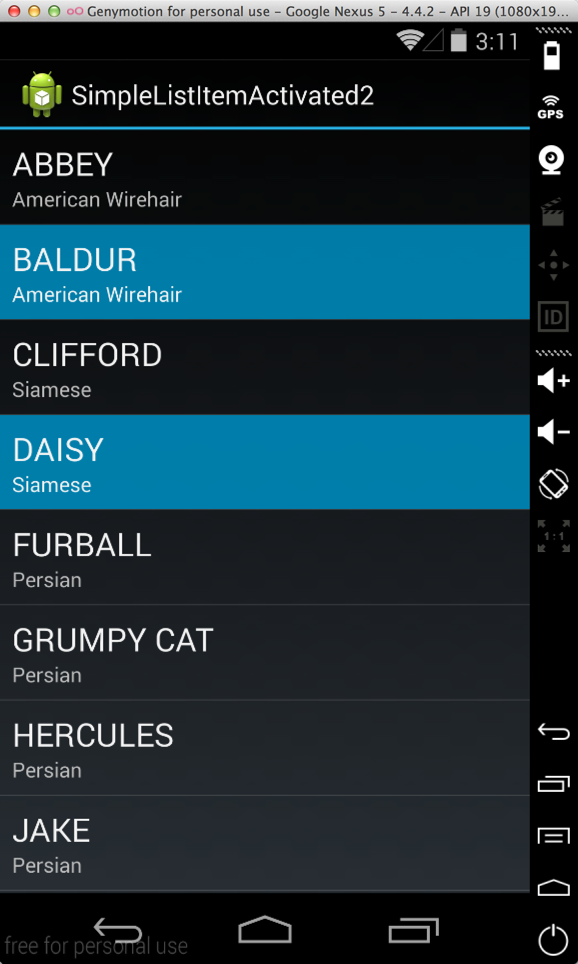
Android.Resource.Layout.SimpleListItemActivated2
- 1 TextView (Android.Resource.Id.Text1)
- 1 TextView/Subtitle (Android.Resource.Id.Text2)
- Note : Set choice mode to multiple or single
this.ListView.ChoiceMode = ChoiceMode.Multiple;
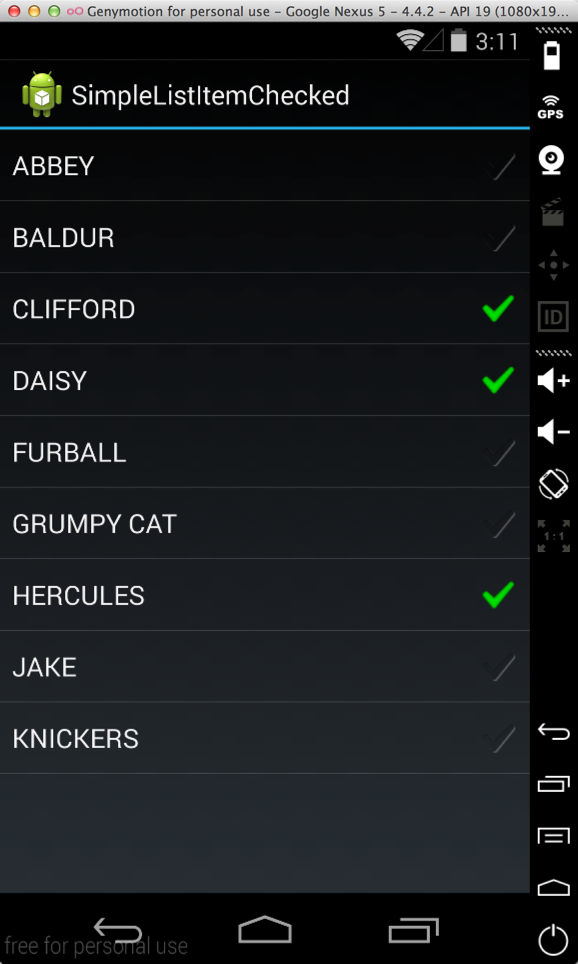
Android.Resource.Layout.SimpleListItemChecked
- 1 TextView (Android.Resource.Id.Text1)
- Note : Set choice mode to multiple or single
this.ListView.ChoiceMode = ChoiceMode.Multiple;
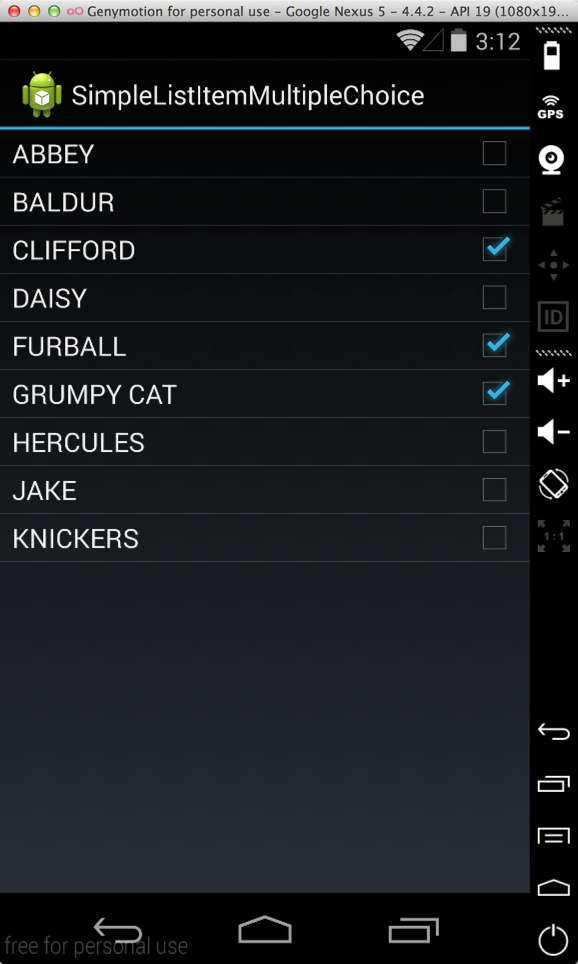
Android.Resource.Layout.SimpleListItemMultipleChoice
- 1 TextView (Android.Resource.Id.Text1)
- Note : Set choice mode to multiple or single
this.ListView.ChoiceMode = ChoiceMode.Multiple;
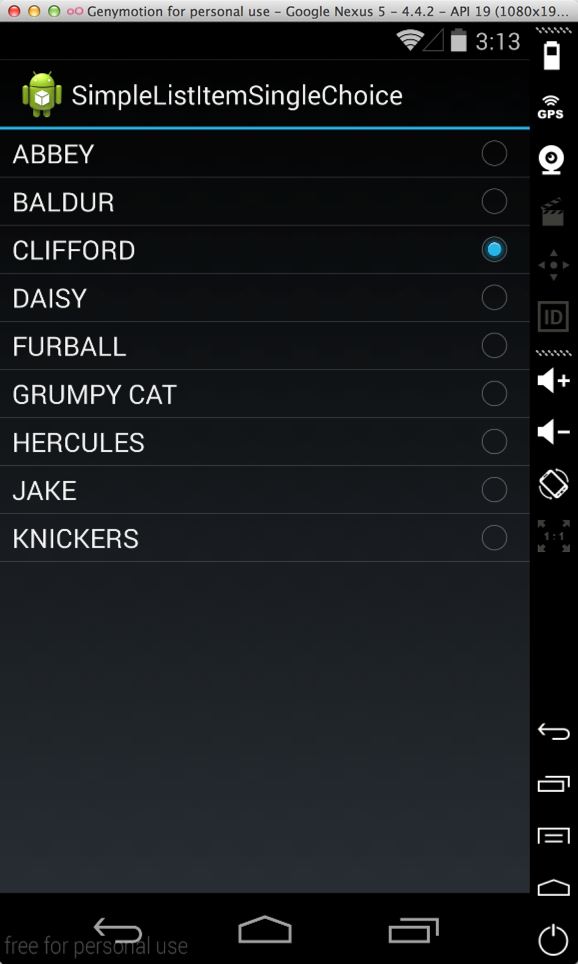
Android.Resource.Layout.SimpleListItemSingleChoice
- 1 TextView (Android.Resource.Id.Text1)
- Note : Set choice mode to single
this.ListView.ChoiceMode = ChoiceMode.Single;
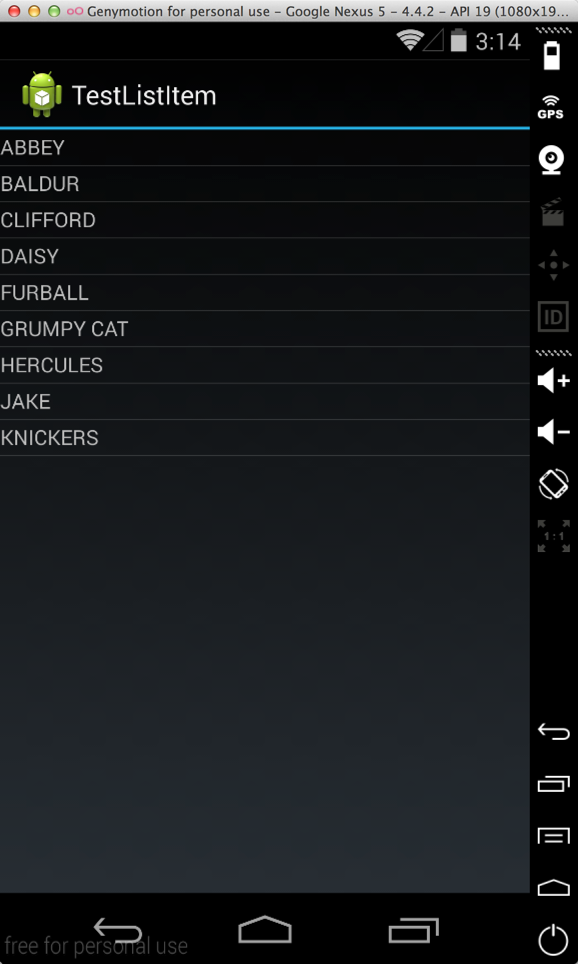
Android.Resource.Layout.TestListItem
- 1 TextView (Android.Resource.Id.Text1)
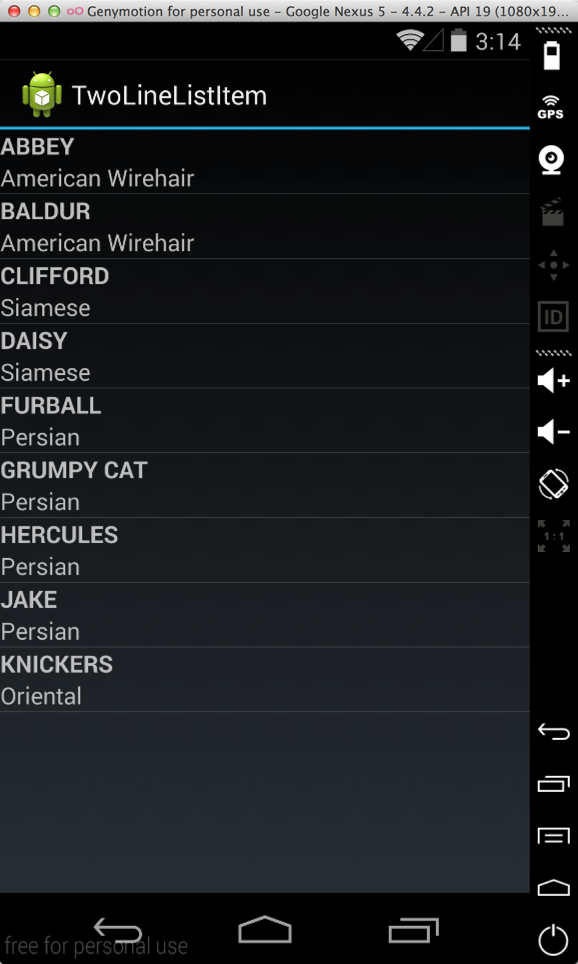
Android.Resource.Layout.TwoLineListItem
- 1 TextView/Title (Android.Resource.Id.Text1)
- 1 TextView/Subtitle (Android.Resource.Id.Text2)
Again, checkout the Xamarin.Android sample app on my Github repo to see these list view layouts in action.