So, you've fired up Xamarin Studio, created a new Xamarin.Forms app for iOS and Android and your app is super successful. Now that the two major platforms are coded and deployed to their respective app stores, you'd like to add Windows Phone as well.
This is where Xamarin and particularly Xamarin.Forms really shines. It's possible to have your app running on a whole new platform in a matter of minutes.
Note: this post refers to Xamarin.Forms 1.2. For instructions on adding Windows Phone to a Xamarin.Forms 1.3+ solution, see James Montemagno's Guide to Add Windows Phone to Xamarin.Forms 1.3+ Projects
Xamarin Studio does not support Windows Phone projects, so in order to create a new Windows Phone project, we will need to be using Xamarin Business Edition in Visual Studio on Windows. The .sln file is exactly the same between Xamarin Studio and Visual Studio and can be opened in either IDE. Simply commit your solution to source control on your Mac, pull it down on Windows, and open it in Visual Studio.
Add Windows Phone Project
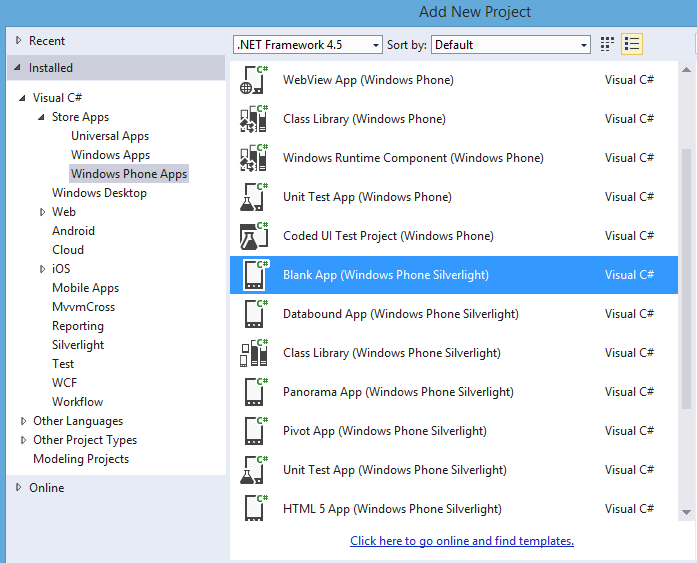
Add Project -> Blank App (Windows Phone Silverlight)
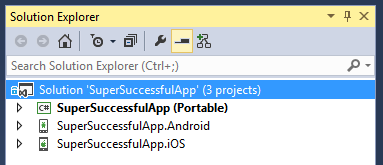
At this point, we will only have iOS and Android projects so the first step is to add a Windows Phone project.
Right click on the solution and choose Add New Project. From the dialog, choose Visual C# -> Store Apps -> Windows Phone Apps -> Blank App (Windows Phone Silverlight)
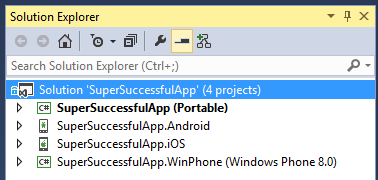
Create the project in the existing solution folder, and give the project the extension .WinPhone (this is optional, but adheres to what the Xamarin.Forms wizard would have created).

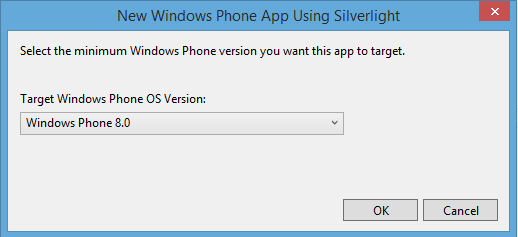
Next, we'll get a wizard dialog asking which version of the Windows Phone SDK we want to use. The Xamarin.Forms wizard creates a Windows Phone 8.0 project, so we'll choose that same version here.
This will create the Windows Phone project for us and add it to the solution.
Add Xamarin.Forms
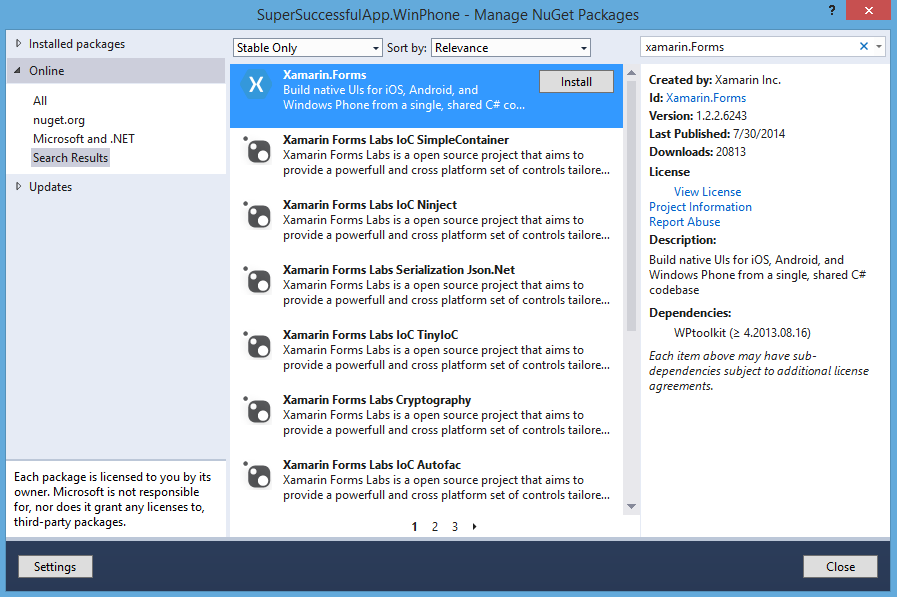
Now that the project is created, all we need to do is connect the Windows Phone project to our Xamarin.Forms app. This has two steps. First, we need to add the Xamarin.Forms Nuget packages to our Windows Phone project. When the Nuget package is installed, it creates a new folder named Toolkit.Content. We need to make sure that the files in this folder are set to Content/Copy Always.
Install-Package Xamarin.Forms

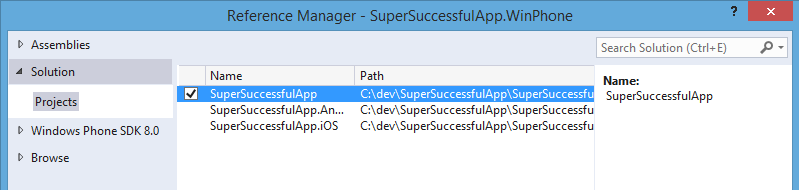
Next, we need to add a reference to our shared code project, which will be either a PCL or a Shared Project. This will allow us to access all of the Xamarin.Forms UI that we have already created.
Edit MainPage.xaml
The last task that we need to do is to change the XAML and the C# that was generated by default. With Xamarin.Forms, we won't be defining our UI in the platform specific projects, but we do need the MainPage to initialize the Xamarin.Forms framework for us.
All we need in the MainPage.xaml file is the following XAML.
<phone:PhoneApplicationPage
    x:Class="SuperSuccessfulApp.WinPhone.MainPage"
    xmlns="http://schemas.microsoft.com/winfx/2006/xaml/presentation"
    xmlns:x="http://schemas.microsoft.com/winfx/2006/xaml"
    xmlns:phone="clr-namespace:Microsoft.Phone.Controls;assembly=Microsoft.Phone"
    xmlns:shell="clr-namespace:Microsoft.Phone.Shell;assembly=Microsoft.Phone"
    xmlns:d="http://schemas.microsoft.com/expression/blend/2008"
    xmlns:mc="http://schemas.openxmlformats.org/markup-compatibility/2006"
    mc:Ignorable="d"
    FontFamily="{StaticResource PhoneFontFamilyNormal}"
    FontSize="{StaticResource PhoneFontSizeNormal}"
    Foreground="{StaticResource PhoneForegroundBrush}"
    SupportedOrientations="Portrait" Orientation="Portrait"
    shell:SystemTray.IsVisible="True">
</phone:PhoneApplicationPage>
Note : Be sure to change the x:Class attribute to your namespace
In the MainPage.xaml.cs file, add the following C#.
using Microsoft.Phone.Controls;
using Xamarin.Forms;

namespace SuperSuccessfulApp.WinPhone
{
    public partial class MainPage : PhoneApplicationPage
    {
        public MainPage()
        {
            InitializeComponent();

            Forms.Init();
            Content = SuperSuccessfulApp.App.GetMainPage().ConvertPageToUIElement(this);
        }
    }
}
Note : Be sure to change the relevant namespaces
At this point, we have a funtioning Windows Phone app, leveraging all of the work that we previously did for iOS and Android. The only remaining tasks would be to implement any custom renderers and/or platform specific interfaces, and add the appropriate icons and images.